HOWTO: Disable Seagate DM001 APM Head Parking *Permanently*
This tutorial applies to DM series: ST1000DM003, ST2000DM001, ST3000DM001, ST4000DM000, as well SV35 series
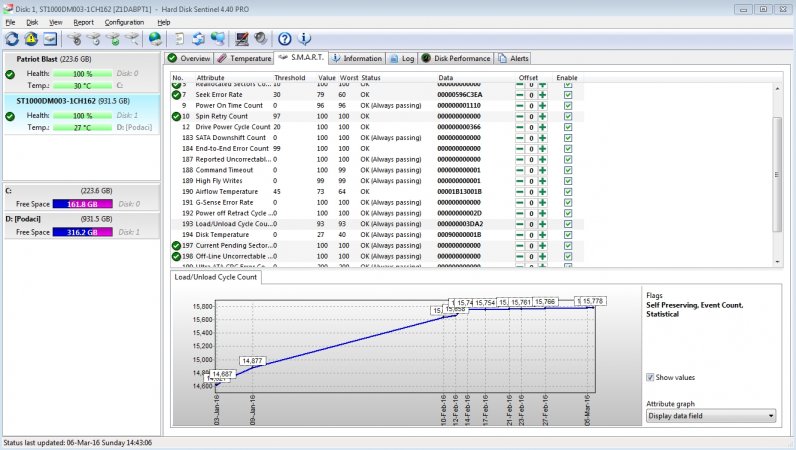
This is supposed to fix the random "Chirp", "Click" noise and stop SMART C1 Load Cycle Count from increasing fast.
Hardware needed: Seagate STx000DM001 disk, empty USB drive (any size)
I have tried to disable my Seagate ST2000DM001 head parking for quite some time without success, but after I tinkered with HDAT2 again today, I am able to save the APM value to disk permanently. Now the disk runs silently without any head parking. Feel free to share this instructions anywhere.
If you follow the instructions right, your data in the disk will NOT be deleted.
Warning: HDAT2 can be dangerous if mis-used. It can wipe your disk clean, or make persistent size / attribute changes or lock it up. Please follow the instructions carefully. If any step gives you any error, or the instruction does not match your screen, STOP!
Steps:
1. Get HDAT2 1.44M IMAGE from: http://www.hdat2.com/files/hdat2img_50.exe
2. Extract the content of the file to a temp folder, the file you need is named "HDAT2FDD.IMG"
3. Get Win32 Disk Imager from: http://sourceforge.net/projects/win32diskimager/
4. Use Win32 Disk Imager to write HDAT2FDD.IMG to an empty USB drive
5. Boot from the USB drive to DOS prompt, type "HDAT2", <Enter>
6. Select the DM001 drive to modify in the device list, <Enter>
** If the intended disk is not on the list, you need to change your SATA mode from AHCI / RAID to IDE temporarily and start over.
7. Select "Commands Menu", <Enter>
8. Select "Commands/Feature Sets", <Enter>
9. Select "Advanced Power Management (APM) Feature Set", <Enter>, <Y>, <D>, <Enter>
10. <Esc>, <Esc>
11. Select "Device Configuration Overlay (DCO) Menu", <Enter>
12. Select "Modify", <Enter>
13. Select "Security Mode Feature", <Right Arrow>, <S>, <Y>
** We only do some changes to be able to save DCO, since this item is disabled by default, removing it does not affect any disk functionality. Saving DCO will result APM setting being saved onto disk.
14. Keep pressing <Esc> until quit to DOS prompt.
15. Power off, all done!
Don't forget to change SATA mode back to AHCI / RAID if you changed it in step 6.
The default APM value for the disk should now be 0 (Disabled) instead of 0x80 (Minimum)


")